

I am so very excited to finally be posting pictures of our new coop! It's still not completely finished, there's little things here and there that need to be tweaked or painted, but it's totally functional and the girls have been moved in and are loving it!
I'll start at the beginning. When I found the chicken breeds I wanted on Craigslist, Steve hadn't been working Saturdays, so I figured he'd be able to whip together a new coop asap. Of course (of course) he came home literally the day I picked them up and said they were working Saturday. Lovely. So our hardy girls have been living in the doghouse that I haphazardly adjusted to accommodate their needs (nesting area and roosts) and to be somewhat safe from predators.
Then Steve finally had a Saturday off, and instead of just laying around and relaxing like I'm sure he wanted to do, he went out and worked on the coop for me. I knew he was a keeper! ;)


my hero
Steve completely designed it based on what I wanted
here he is 'figuring it out' [his words haha] and getting started building it


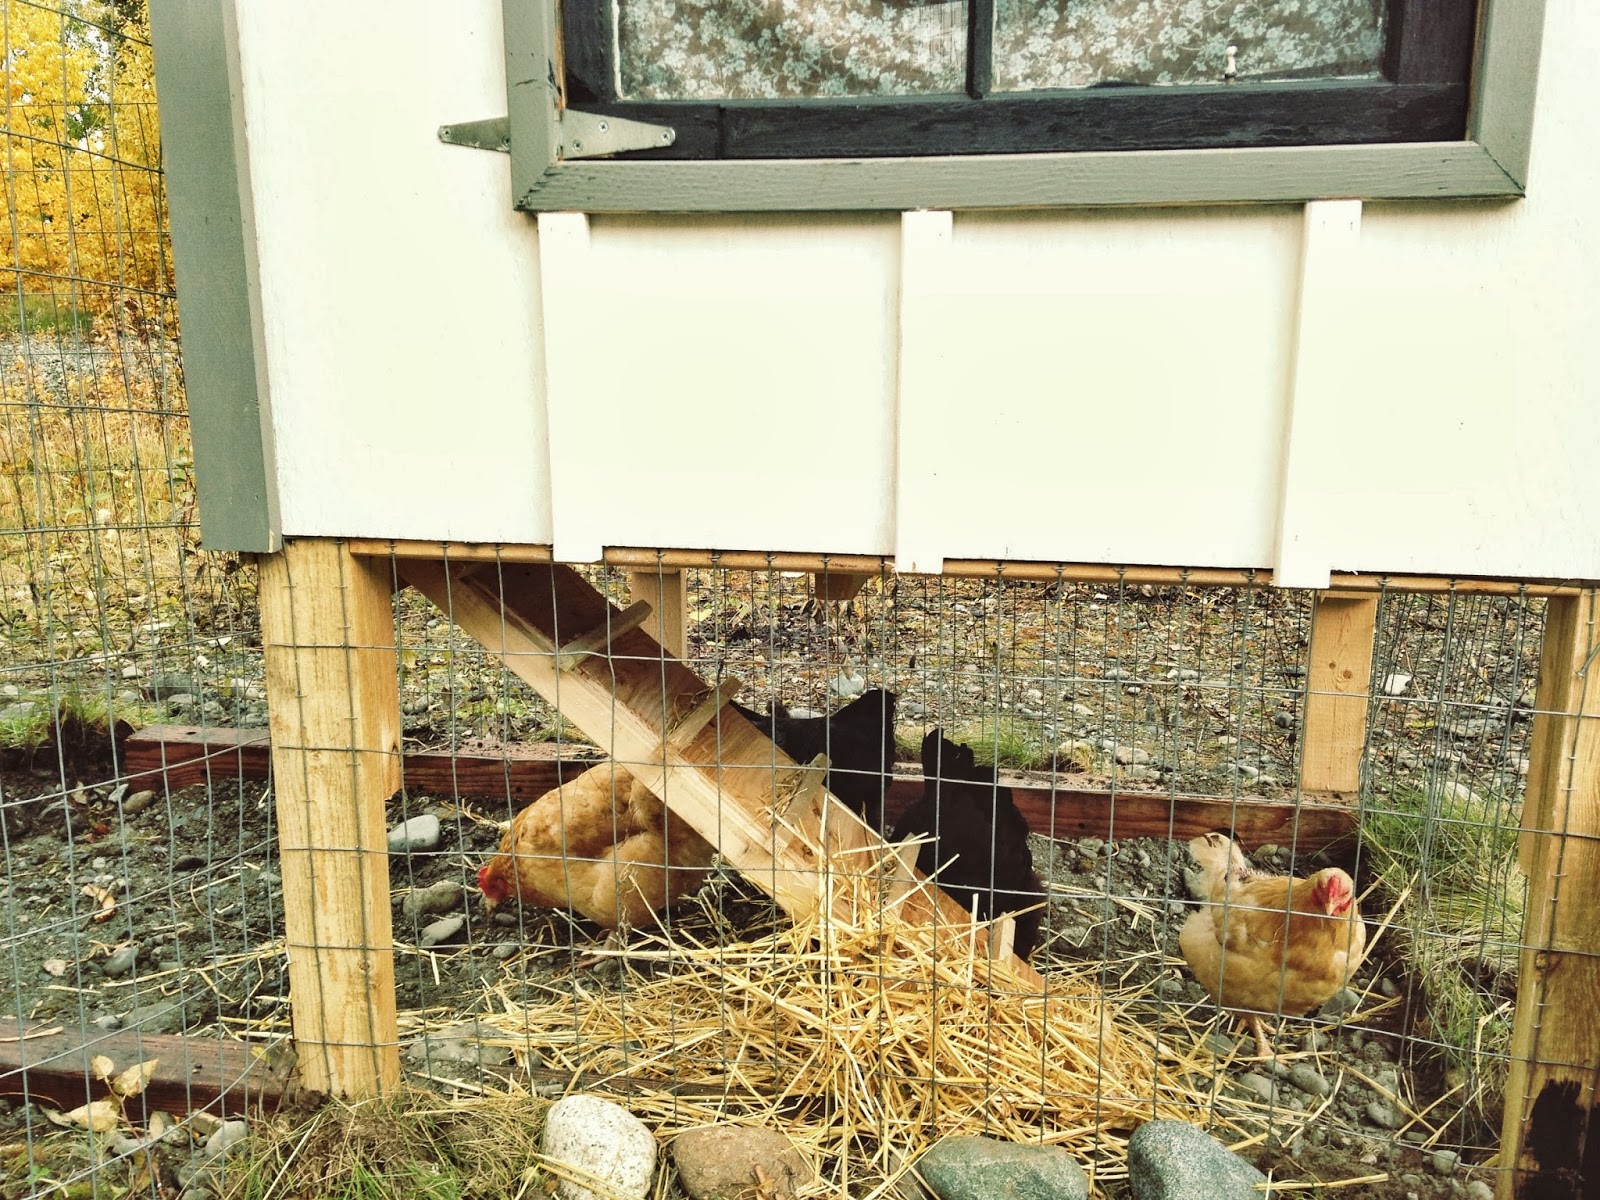
Here's some pictures of the girls enjoying their new home:


quality control
Riggs testing out the new floor

the peanut gallery
the girls were fascinated by what was going on outside their home


little helper
Riggs loved watching daddy work and
tried to be just like him. that's a pretty heavy
sledgehammer for such a little guy!


rain or shine
of course it would be rainy the second weekend Steve had to work on it
but still he went out and worked all day in the drizzle
did I mention how much I love this man?

details
this nesting box is my favorite
with a lightweight lid and at the perfect
height for me to collect the eggs in the morning


more details
once the coop was built, it was my turn to get to work
I cut out vinyl flooring I picked up from Lowes to line nearly
every surface with for easier cleaning (chicken poop + rough wood = sticky mess)


all ready
after the flooring was in I stained the walls
then added the roosting bar
then hung the curtains for extra privacy in the nests
I also added some relaxing and pest-resistant dried herbs
in the nesting boxes for my pampered chickens...makes
the whole coop smell marvelous!

all done!
I sewed a little banner for decoration
also painted the little 'fresh eggs' sign and hung it up
I'm so happy with out it turned out, such a cute little coop!
Alot of work went into getting the coop ready for the girls to move in. But it was really fun to have a project to work on everyday and to be able to visually see the fruits of my labor.
It took one whole day to paint the outside of the coop. Our house is white with blue trim (that I hate) and so I used to the coop as a test to see if I'd like the colors I had picked in my head for painting our house. I love the gray trim and black door, definitely going to go ahead and update our house in the spring!
I also had to put up the fence for the new enclosure. Took forever since I had to dig for the posts and for the entire perimeter so that the fencing would be buried to prevent predators from digging their way in. I'm hoping it will work for winter. I'd eventually like to increase the height to 6ft so that the chickens can't fly over the top. But since we've had them it's only happened twice, and it's the same chicken who tends to get a little 'flighty' when she gets scared. She just stands outside the fence by the coop waiting to be put back in, so it would only be a problem if I wasn't home and a predator found her before I did.
Here's some pictures of the girls enjoying their new home:


first egg!
laid it right next to the ceramic egg
I planted there so they'd know where to lay


Oh man, I'm in love. We are upgrading ours because we are raising fryers and turkeys in the spring, so we need more space. This is CUTE! Is this your first year raising hens?
ReplyDeletethank you Maggie! I'm a little worried that we should have planned more space to begin with because I have a feeling this could get a little addictive ;) But we wanted it to also be the smallest space possible so they stay warm in winter without needing any heat (it was -20f for a whole month last winter!). It's our first time ever having chickens, so we're pretty clueless! haha
DeleteThey look so happy. Can't wait to share this with Doug during our lunch phone call today. You two...uh three (gotta give Riggs credit) did a great job!!!
ReplyDeleteOh my goodness! This coop is so perfect! I'm totally pinning this for next spring when I talk my husband into us getting chicks. You guys are awesome!
ReplyDeleteThank you Angela! It's definitely been a labor of love but lots of fun too! And you should definitely get some little chicks, so easy and so cute!
DeleteI feel like I creep on your blog too much...but you are so amazing Whitney! I love this little coop....lucky hens! What a great hubby you have, too!
ReplyDeletecreep away Andrea, I love it! I do the same thing too so we can be creepers together ;)
DeleteI'm so thankful to my hubs for all the work he did! he's getting paid in yummy egg dishes lol
I am in love with the coop! It reminds me the one my friends had in AK. And I love the curtains for the girls, they need their privacy too!
ReplyDeleteThanks Mar! Yes definitely the curtains are a must! ha
DeleteWhitney - this is so rad!!!! And I love how you refer to the chickens as "The Girls"! So awesome. I can totally see how much labour of love went into the coop. The bunting flags...you're the coolest. And craftiest. I am totally jealous you have your own chickens.
ReplyDelete2 Side notes - Side note 1 - have you heard of this show on TLC where girls from Alaska move to Miami for a new pace/change in life...mainly meeting dudes. I have a feeling I will be secretly watching this show. Side note 2 - I have this irresistible urge to call you Whit...I apologize in advance if I abbreviate your name in my comments!
.:Marta:.
hahaha I love that you mentally call me Whit, so funny! I don't mind at all :) We are loving having our girls, they are so much fun to have around!
DeleteI haven't heard of this show, but of course now I need to go find it and watch! ha
Amazing! The coop looks fantastic! Adorable flags and adorable sign. If I were a hen, I'd totally want to live with you! :)
ReplyDeleteAww thanks Natalie! So glad it's the weekend now so you can get caught up on some rest and relaxation!
DeleteThat is one amazing coop - well done!! Your chickens have it made!
ReplyDelete:) they are pretty lucky little hens
DeleteIt looks wonderful, very nice curtains!
ReplyDeleteThis is so so cool! I cannot believe what Steve was doing there. HE is indeed a hero... and your decoration is too cute.
ReplyDeleteThe pic of Riggy and daddy is my favorite... how he is adoring dad and dad smiling proudly! LOVE IT!
Hugs to you and your family
Oh how great!! I totally love it. I will show this post to Luke see he and Dad can replicate one for me! ;-)
ReplyDelete